Most of us have our phones or gadgets tied to an online account provided by the device manufacturer. Whether you are using Apple’s iOS or Google’s Android operating system, you would be logged in your iCloud or your Google account respectively.
It's always handy to have your devices connected to either your Google or iCloud account as they are useful platforms for saving your data – including photos, messages and passwords. They also act as security means when re-authenticating your account every time you sign in. So you may ask, why do I need to remove my device from my Google/iCloud account?
When should I need to unlink from my device account?
Whether it’s a laptop, a tablet or a mobile phone, there are times when you need to review and disconnect the devices you have linked such as when you:
- Upgrade a device
- Stop using a device
- Sell a device
- Trade in a device
- A device gets lost or stolen
 Some providers like Google notice whenever a device has not been used for quite some time and they will notify you to advise its deletion, mainly for security purposes. Google will also occasionally contact you in order to ask you to review the devices that are already linked and see whether you need to add or remove any of the ones included.
If you have insurance, it’s worth noting that if you make an al accidental damage or a mechanical breakdown claim authorised, your insurer will ask you to unlink your device from either Google (for Android) or Find my iPhone/iCloud (for Apple) prior to sending it in for repair.
The reason for this is so that the security functions that Google and iCloud have in place are removed as well. If they remain active, they create a block or cause errors during the diagnostic checks that repair technicians perform in the repair process. Once your phone has been repaired and sent back to you, you can easily reconnect the handset to your account.
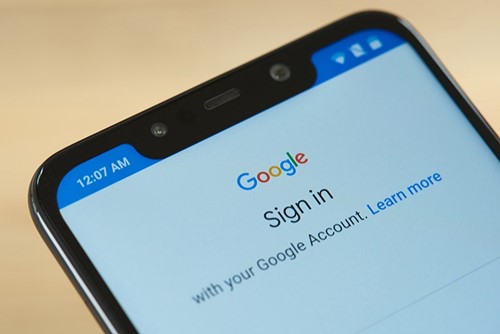
How can I disconnect my Android phone from my Google Account?
There are two ways of doing this:
Option #1
(no need to have access to the actual phone – best for when phones are lost/stolen)
- Sign into your Google account that is linked to the damaged handset.
- Once signed in, click on Sign-in & Security.
- On the left of the page, select Device activity & notifications.
- Under recently used devices, they will need to select Review Devices.
- Click on the device you wish to remove and then click on remove account access.
Option #2
- Launch the Android Settings App by tapping the gear icon.
- Scroll to the bottom of the menu and tap Google.
- Once the Google account management dashboard is launched, tap “Manage your Google Account” at the top of the page.
- Tap the menu icon at the bottom left corner of the page.
- Click on the menu options and select security.
- At the bottom of the security options, tap Manage Devices where a list of all the connected devices will appear.
- After finding the device you no longer want to have linked, tap the three dotted menu icon right next to it.
- Tap Sign out to disconnect and remove the device from your Google Account.
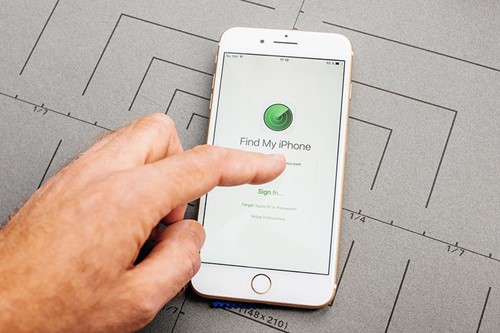
How to disconnect my iPhone from “Find my iPhone”/iCloud account:
Option #1
- On any internet browser go to > www.icloud.com > Sign in with your iCloud account.
- Click on the Find My iPhone icon
- A Map of your iPhone will appear
- At the top of the screen, it says “All Devices” > Click on this and a drop-down menu will appear including all the linked Apple devices. Choose the correct option.
- Click on “Remove from Account” found in the highlighted space. If you mark the device as “lost”, the phone will still be connected to the account, it will just exist in a lost mode. By clicking remove, you are deleting it completely.
Option #2
- From your phone, open your Settings and then tap iCloud
- In the iCloud settings, tap on your name to access your account details
- Enter your password to sign in
- In the account details screen, tap on “Devices” so that you can view all the devices that are associated with your iCloud account
- Choose the phone/laptop that you would like to remove
- Confirm removal
IMPORTANT: Before selling your phone, you would first need to manually sign out of both your Google and your iCloud account by manually inserting your password. This step has to be taken before removing the phones from the accounts permanently as this will ensure that the Activation Lock is not triggered for when the new user starts using the phone.
Once removed, the two factor authentication codes which add an extra layer of security to your account, will be removed as well.
Whether your phone is new or refurbished, it is always worth keeping it protected at all times to avoid the cost of upgrading. Check out our mobile phone insurance to see what cover options you have.